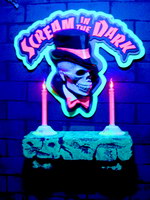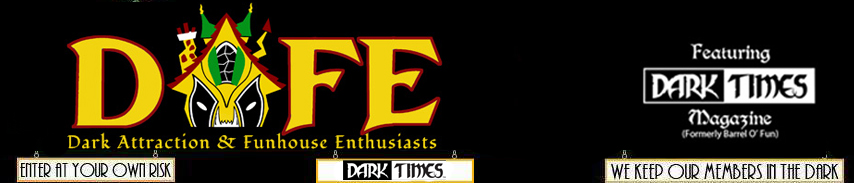

Scream in the Dark
DAFE Member Transforms Home Garage Into 1st Annual Darkride.

 It's always made more sense to me to lead your audience through an attraction with a ride vehicle, as opposed to a walk-through. You could control what they see, and just how they see it, like a director does when shooting a movie. Ever since I was a kid I've been interested in this unusual medium of darkrides. When I was about 12 years old, I created a ride-through haunted attraction in my parents garage. Although It was pretty crude, I thought it was well themed out. I built the ride vehicle out of wooden planks and skateboards that could be manually pushed and guided from behind.
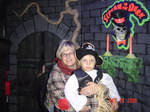
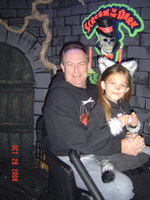
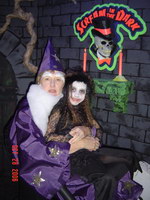
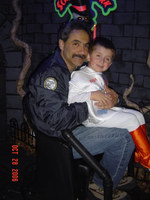
 My wife and I bought a house back in '99 with a 2-car garage. It didn't take long for me to realize that I could transform the garage into a ride-through haunted attraction. So that's what I did. It's called Scream in the Dark. I've been slowly working on it for about 3 years now. I thought I'd finally throw a Halloween party for friends and family for a test run this year. It turned out to be quite a success. I sent about 30 to 35 guests through (some kids rode double). The kids seemed to be genuinely scared, but curious while waiting in line. Just the results I wanted.
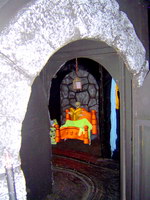
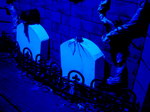
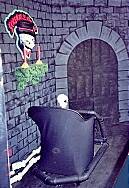
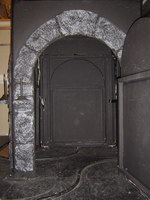
Lightning and fog greets the guests as they crash through the double-door entrance.

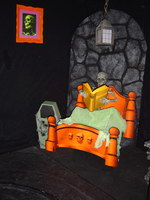
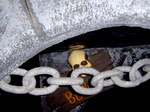
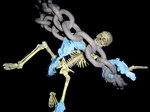
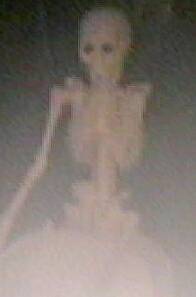
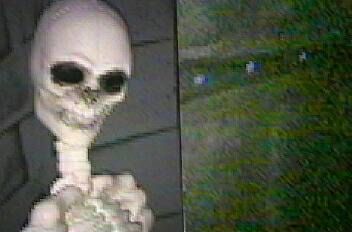
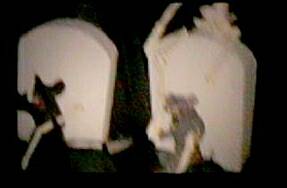
A skeleton sits atop a gravestone in a cemetary.
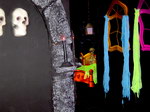
Guarded by rats!
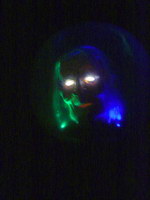
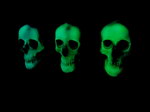
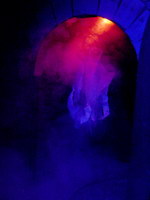
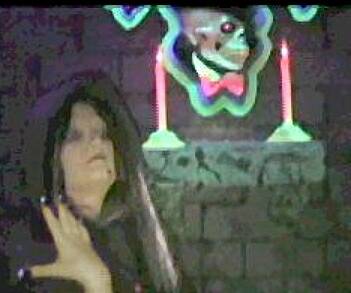
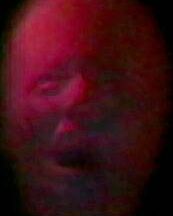
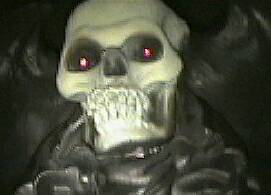
This head follows you as you pass.
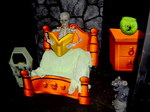
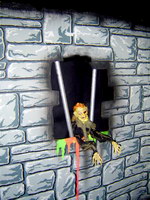
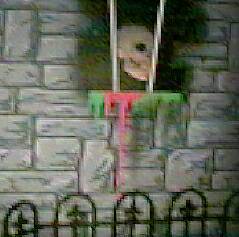
An animated prisoner looks around through his dungeon cell.
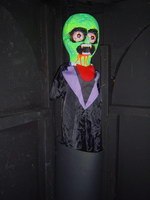
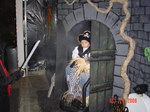
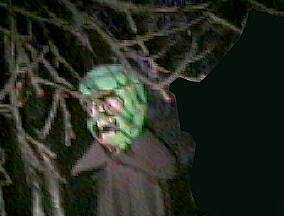
Another animated soul dances in the doorway of this spooky old house.
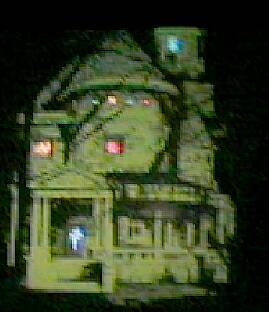
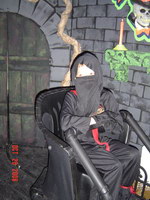
A final greeting from above as guests crash through the exit doors.
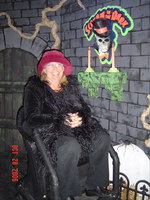
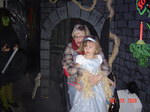
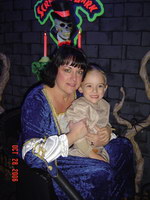
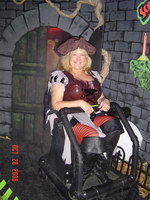
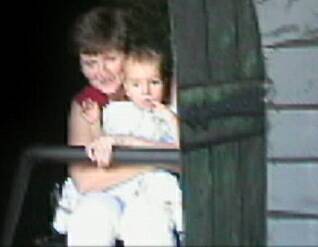
My wife and daughter go for a test ride.
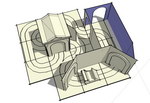
 I started out by thinking of the size limitation. It was very limited. The first thing I did was draw several track layouts on grid paper that would fit within the 16 x 16 ft. area I had to work with. After several layout attempts, I finally came up with the most linear footage that I could cram into the given space. See diagrams (1 & 2). It's probably the smallest darkride in the world, nevertheless, a darkride indeed.
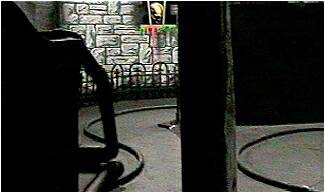
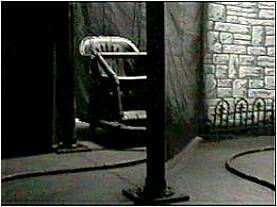
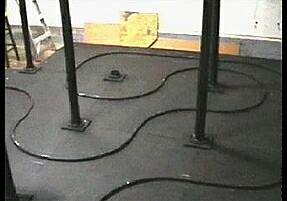
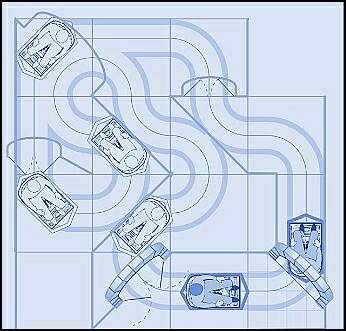
Diagram # 1- 16' x 16' plan view
Nuts & Bolts
For any of you obsessed enthusiasts that would like to attempt building this darkride on your own, I will go into greater "how-to" detail in the next few pages. We will first go over the track & layout. Next the dividing walls and facade, then finally we'll cover the vehicle and ride control. I thought I'd leave the props, effects and scenery to your own creativity.
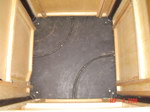
Floor & Track
At this time I had no idea how the ride system would work. I was with my brother at a family get-together and he started to throw some ideas out. He came up with something very clever and practical. He had this idea of making the track modular, using 4 x 4 ft. square plywood panels as a base to build the track on. This way you could set-up and break down the ride, not having to commit the garage to the darkride permanently. After all, we still had to park our cars in it during the rest of the year, Also, I liked the idea that I could take it all with me if I move, kind of like what a traveling carnival does with their mobile trailer darkrides.
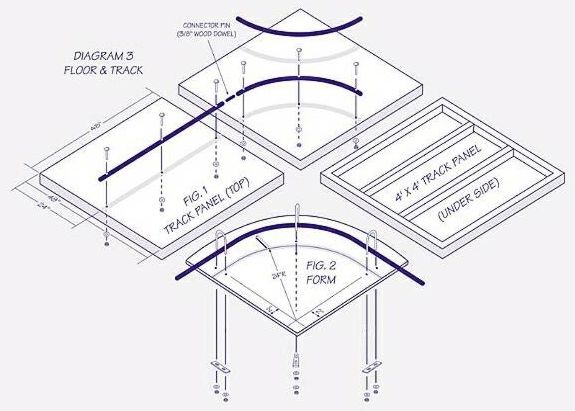
Diagram 4 illustrates how the 4 x 4 ft. panels were constructed. I used 2 x 3" studs for the their frame, and 5/8" roofing plywood for the surface or floor. The plywood I purchased was already pre-cut into 4 x 4 ft. squares which was ideal because they were cut so accurately. I began to cut the 2 x 3" studs using the 4 x 4 ft. squares as my guide to insure that I kept the accuracy. These panels needed to fit together snugly like floor tiles do. After I framed-up the edges, I then cut two inner studs and positioned as shown.
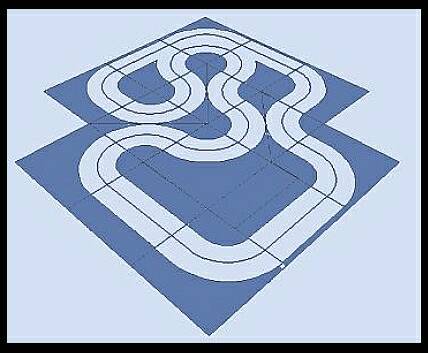
Diagram #2- 16' x 16' perspective view.
Large nails were used for the framing, and flat head drywall screws were used to fasten the floor panels to the framework.
I took a trip to the home improvement store and discovered what I needed for the track. There it was, cheap and plentiful, PVC pipe. I used 1" PVC pipe for the track. I carefully measured, marked and drilled 1/2" holes through the pipe and panels. I then fastened the pipe to the panels with 1/2" lag bolts (see diagram 3, fig. 1). After the pipe was securely fastened, I then cut off the excess pipe flush to the edge of the panel.
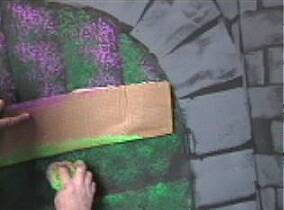
The curved track is a little more involved. It first needed to be heat-formed into shape. I made a very simple form. On a 28" square panel (3/4" thick) I measured a 24" radius approximately 2" from the corner of the form (see diagram 3, fig. 2). I then inserted a push-pin attached to a piece of string into the radius' center. With a pencil attached to the other end of the string, I then drew my curve on the form, just like using a drafting compass. Now I new where to drill my holes for the 3 U-bolts as shown.
I now had to flex the PVC pipe along the curve, push the U-bolts through the form and attach the washers and bolts at the back side of the form. As I tightened the nuts, the PVC pipe pulled itself into shape, a perfect 1/4 circle. Now I was able to heat the pipe, making it soft, then it hardened into a stiff curve as it cooled. I simply did this by placing the form with pipe fastened, about 12" above my kitchen stove. With the pipe facing down toward the flame, I slowly waved the form back and forth for a minute or so. The tension on the U-bolts will become less and less the hotter and softer the pipe gets. Allow the pipe to cool for 5 minutes or so before releasing it from the form. It is now ready for the holes to be drilled and fastened to the panels. Again, make sure to cut the excess pipe off after it is fastened to the panels. 16 curves and 4 straight pieces of track will be needed to make this particular layout. It is important to study this layout and notice where some track is mounted off-center onto the floor panels (see diagram 1).
 I needed to come up with a way to divide the ride into corridors or rooms so the rider could experience scenes, props and effects without seeing them again.
The connectors serve two purposes. They connect the floor panels together and they serve as a base to slip the upright posts into. This 4" dia. sleeve is called a "closet flange" (can be purchased at any home improvement store). It was centered and bolted to an 8" square base (3/4" thick board). Holes were drilled in the four corners of the base. The base was accurately centered over four floor panel's corners as shown in diagram 4. Mark the panels with a pencil through the drilled holes in the connector's base. Now drill 1" holes through the floor panels where they were marked.
Because the underside of the floor panels can not be accessed during assembly, toggle bolts were inserted and tightened through the top side. These bolts have nuts that spring-open after inserted through holes. 1" wide toggle bolts at 3" long were used, the largest I could find. I only used seven of these connectors for seven posts. The edges and facade areas of the floor panels were held together by other means. 4" pvc pipe at 7 ft. tall was inserted into the connectors creating up-rights. This up-rights allow black plastic sheeting to be spanned from post to post, creating curtain-like walls.
This particular track layout does not allow the ride vehicle to clear the walls when in motion. It is important that these walls are hanging, and can be gently pushed away by the vehicle to make clearance for it.
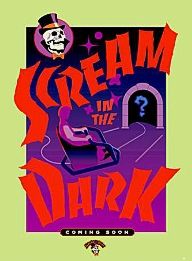
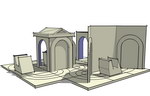
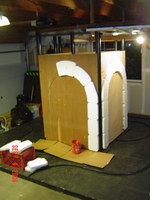
The Facade
The important part of the facade is the clearance of the ride vehicle, and the rider's head and arms as they pass through the crash-doors. I used 1/8" thick panel board framed up with 1x 2's. It was then painted to look like stone walls and weathered wooden doors.
The entrance and exit openings are 3 1/2 ft. wide by 4 1/2 ft. tall . They are both positioned at 45 degree angles as accurately as possible. The vehicle passes through the doors while turning simutaniuosly. The pieces that were cut out of the openings were simply cut in half vertically to make the double doors. Use two small utility hinges to mount each door. Make sure to center the middle of the doors over the pvc track as accurately as possible. A small 1/4 circle was cut out of each of the door's bottoms to clear the pvc track when closed.
Getting the double-doors to close after the vehicle past through them was a tougher task than I thought, until I finally tried a counter-weight system. Weights attached to fishing line on both sides of the doors, pull them to a close using gravity. It worked really well, and was quite effortless to make. The whole facade was bolted to the floor panels using "L" brackets with toggle bolts.
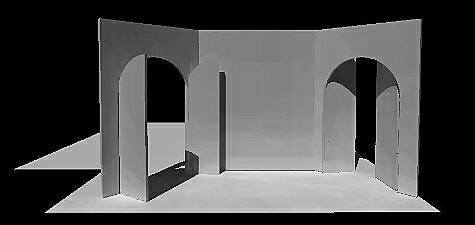
3-D rendering of S.D.'s facade.
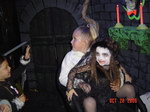
My brother's artistic touch was horrifying!
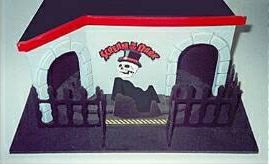
The Ride Vehicle
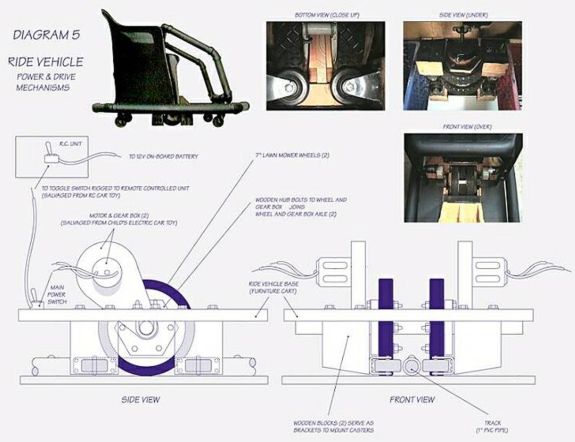
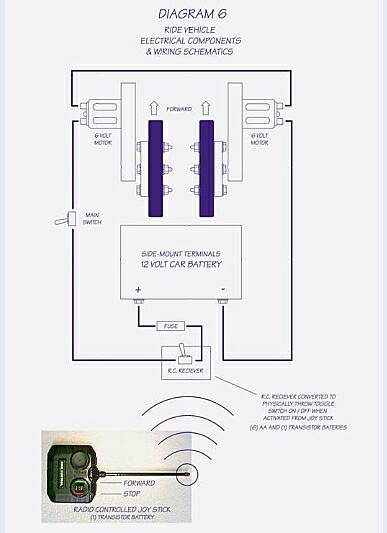
So far I knew I had this raised, curved, tubular track to guide the vehicle. Eventually I came up with this under-carriage mounted beneath the vehicle's base with a set of four casters, or wheels that roll horizontally along both sides of the PVC pipe. Two vertical drive wheels are positioned in the middle of the vehicle, making contact with the floor base to pull the vehicle along the path. These wheels are connected to the gear box that's connected to the motors and supply it's power (see diagram 5). The motors, gear boxes, and axle were salvaged from an electric ride-on car toy that I bought from a yard sale.
The power source for the vehicle comes from a 12 volt car battery mounted below the rider's seat. Pos.(+) and neg.(-) wires were crimped to terminal connectors and attached to the battery. I have a battery charger, and use it as needed. Unlike a car's electrical system, this battery doesn't get recharged automatically.
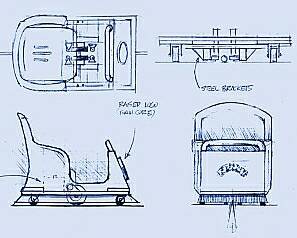
Early concept sketch of S.D.'s ride vehicle.
The wiring configuration was done so that 6 volts pass through both 6 volt motors equaling 12 volts, I think (see diagram 6). I'm certainly no expert when it comes to electrical stuff. To be quite honest, I was surprised that I got it to work. All I know is that the motors don't over heat, and they can handle pulling just over 200 pounds. See the wiring schematics in diagram 6.
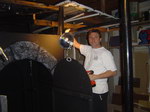
The vehicle can be operated by a remote-controlled unit that I took from an RC toy car and modified to switch on and off the power to the motors. This way the ride attendant could load and unload guests, as well as send them through the ride from one spot with a hand-held joy stick.
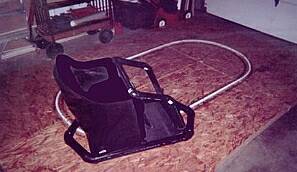
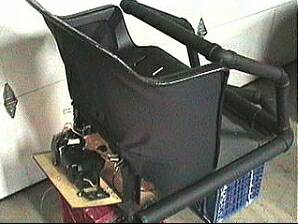
The rider sits on a plastic lawn chair mounted to a furniture cart. Thin black cloth was stretched and fastened around the outside of the chair to hide the mechanical stuff.
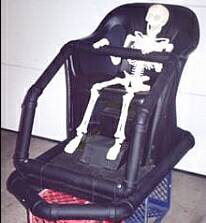
Surrounding the vehicle is a bumper that pushes open the entrance and exit doors. The bumpers were made from 3" black pvc pipe. The lap bar was also made from the same size pipe. It pivots forward and backward, allowing the rider access to sit in the vehicle.
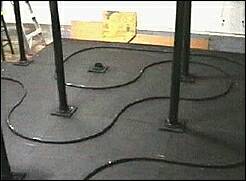
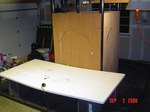
S.D.'s test track in its early stages
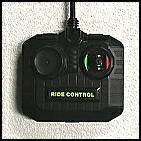
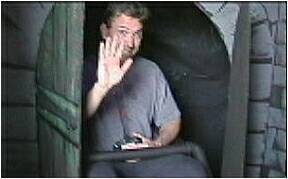
The ride attendant operates a hand held joy stick as shown here.
A good view of the drive wheels shown here.
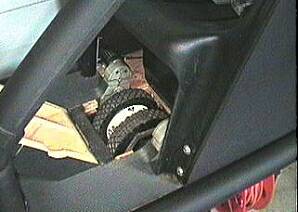
Radio control unit is mounted to a hinged panel at the rear of the vehicle.
Final Thoughts
Paint & Lighting
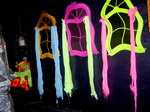
At last, but not least, paint everything flat black. Treat it as if it's a black canvas then start to pull images out of the dark with fluorescent paint and blacklight. Be careful not to use to much light. You can easily over light a whole area with just the slightest amount of a light source.
Scenery, Props and Effects
Most of the scenery, props and effects that I had previous to the darkride idea, I had either built and/or accumulated over the years from past Halloween parties. I think my passion for darkrides is to design and build the props, special effects and scenery, but I gotta tell ya, the mechanical stuff was really gratifying too. I won't go into any of the props, scenery, effects or sound. Anyone with just the slightest bit of imagination can come up with this stuff. After all, that's the pay off once the ride system and housing is done. I found some magazines (Haunted Attraction Magazine) and a lot of websites that can help with this part of the project. I will mention that I used a fog machine combined with a strobe light just as the guests crash through the entrance. It was a great effect to start off with.
Cost
I would say that I spent well over $700.00 on the project. I know this isn't cheap, but if you buy the materials a little bit at a time, it becomes realistically affordable. Speaking of time, this is probably more costly than the money. I found that many times I had to force myself to work on it because I would get discouraged if something wasn't going quite right or I was just too tired from the 9 to 5 job. Yeah, I would definitely say that effort was the most costly. I still have to force myself to work on it. Although, many times I would have to force myself to stop too, like at about 2 in the morning and I've got work the next day. The important thing is not to give up.
Preparation
Give yourself plenty of set-up time. I started setting up the entire ride about two weeks prior to our Halloween party. I still could have used an extra week though. This means committing the garage (or enclosed space) for that length of time. I parked the cars in the driveway and unplugged the garage door opener.
I hope the information in this article is helpful and inspiring to all of you darkride enthusiasts. There may be some details not included, but I think the general idea is complete. Perhaps it could even be improved upon. Feel free to e-mail me for any questions and I'll try to reply.
Anyway just thought I'd share my possible lifetime project / hobby � Scream in the Dark.
Rick Murphy, California
Update - 2005
Rick Murphy sent us some of the latest pics and a movie from 2005.
PDF of Pictures (808KB)
Update - 2006
Scream in the Dark Invitations (pdf)
Invitation (.pdf 1110 KB)
Invitation (.pdf 3778 KB)
Scream in the Dark 3D Renderings
Scream in the Dark Construction Pictures


Scream in the Dark Photo Gallery
.jpg)
.jpg)
.jpg)